How to Add a StreamRio Overlay to Twitch Studio
How to Add a StreamRio Overlay to Twitch Studio
If you are searching for how to add a StreamRio overlay to Twitch Studio, the short answer is: use a browser/web source layer if your installed Twitch Studio build still exposes one. StreamRio is a browser-based companion overlay, so it needs a layer that can load a web URL.
There is one important update before we start: Twitch's official blog states that support for Twitch Studio would be discontinued after May 30, 2024. That means this guide is best treated as a legacy setup guide for creators who already have Twitch Studio installed. For new setups, OBS Studio is the safer long-term choice for StreamRio overlays.
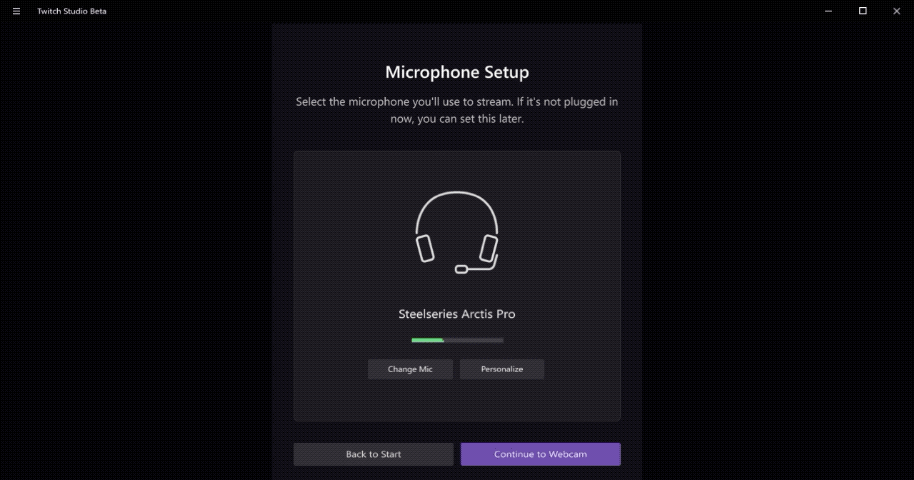
Official Twitch Studio screenshot saved locally for this legacy setup guide.
Should you still use Twitch Studio for StreamRio?
Use Twitch Studio only if:
- You already have it installed.
- It still works on your machine.
- Your version includes a browser/web source style layer.
- You understand it is no longer the best-supported path.
If you are starting from scratch, use OBS Studio instead. OBS has a maintained Browser Source, official documentation, and more predictable support for transparent overlays like StreamRio.
What StreamRio needs
StreamRio needs a source type that can load a URL. Different streaming tools use slightly different names:
| Tool | Common source name |
|---|---|
| OBS Studio | Browser Source |
| Streamlabs | Browser Source |
| TikTok LIVE Studio | Link or browser-style source |
| Twitch Studio | Browser Source, web source, or custom layer depending on build |
If your Twitch Studio app does not show any source that can load a web URL, do not use a screen capture workaround for StreamRio. Switch to OBS Studio so the overlay can stay transparent and update cleanly.
Step 1: Copy your StreamRio overlay URL
Open StreamRio and copy your overlay URL from the dashboard. This URL is the private browser link that renders your StreamRio companion.
Keep it private. Do not publish the overlay URL in your Twitch panels, chat, Discord, or public tutorial screenshots.
Step 2: Open your Twitch Studio scene editor
Open Twitch Studio and go to the scene where you want StreamRio to appear. Most creators place StreamRio in a main gameplay scene or a Just Chatting scene.
Twitch Studio was designed around simple scene setup for new streamers, so the layout is more guided than OBS. Look for the panel where you add or manage layers/sources in the current scene.
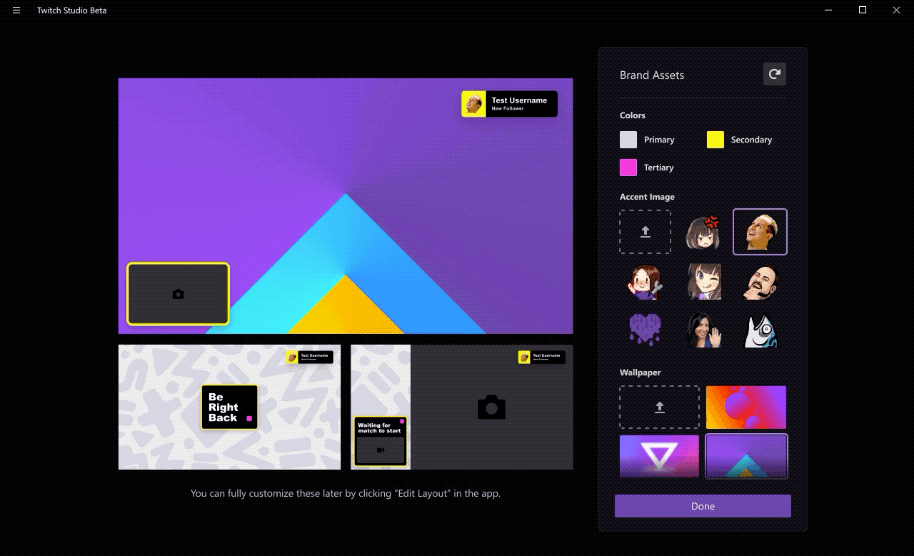
Official Twitch Studio setup animation saved locally from Twitch Blog.
Step 3: Add a browser or web source layer
In the scene editor, look for an option similar to:
- Browser Source
- Web Source
- Website
- Custom layer
- Embed URL
If your version has one of these options, create the layer and paste your StreamRio overlay URL into the URL/address field.
If your version does not show any URL-based layer, stop here and use OBS Studio. A StreamRio overlay should be loaded as web content, not captured from a browser window, because browser capture often creates a visible window frame, black background, or unwanted scaling problems.
Step 4: Use a compact size, not full-screen dimensions
StreamRio is meant to be a companion character. Use a 4:5 vertical source shape so it sits beside the streamer instead of covering the entire stream.
Use 4:5 compact dimensions as your starting point:
| Layout goal | Suggested overlay area |
|---|---|
| Character beside webcam | 600 x 750 |
| Small corner companion | 480 x 600 |
| Vertical stream layout | 560 x 700 |
| Larger Just Chatting layout | 720 x 900 |
Avoid setting the overlay layer to 1920 x 1080 unless you are intentionally making a full-scene effect. Full-canvas sizing can hide gameplay, cover your camera, and make StreamRio feel like a screen takeover instead of a companion.
Step 5: Place StreamRio beside the streamer
Good StreamRio placements in Twitch Studio include:
- Lower-right corner next to your webcam.
- Lower-left corner away from game HUD elements.
- A vertical strip beside chat.
- A dedicated area in a Just Chatting layout.
Official Twitch Studio layout animation saved locally from Twitch Blog.
After placing the layer, check that it does not cover your face, subtitles, chat, alerts, or important game UI. StreamRio should be visible enough to feel alive, but small enough that the stream remains easy to watch.
Step 6: Go live or preview your scene
Use Twitch Studio's preview or go-live flow to confirm the overlay behaves correctly before your actual stream starts.
Official Twitch Studio live setup animation saved locally from Twitch Blog.
Check these details before going live:
- The StreamRio character appears on a transparent background.
- The overlay is not cropped.
- The overlay is not stretched.
- It is layered above your game or camera background.
- It is not covering important on-screen information.
Troubleshooting Twitch Studio overlay issues
I cannot find Browser Source in Twitch Studio
Because Twitch Studio is discontinued, feature availability can vary by installed build and operating system. If you cannot find any browser/web/URL layer, use OBS Studio instead.
StreamRio appears with a black or solid background
This usually means the source is not rendering transparency correctly, or the app is capturing a browser window rather than embedding the URL. A proper browser-style source is required for the cleanest result.
The overlay is too big
Reduce the source width and height, then reposition it in the scene. Start around 600 x 750 for a visible companion and 480 x 600 for a smaller corner character.
The overlay is cropped
Increase the overlay source height or width. Cropping happens when the browser viewport is smaller than the StreamRio character or reaction area.
Twitch Studio no longer works reliably
Move the setup to OBS Studio. Add StreamRio as a Browser Source there, paste the same overlay URL, and use compact dimensions. OBS is the recommended path for a maintained browser-source workflow.
Recommended path in 2026
For searchers who still have Twitch Studio installed, this article gives the legacy setup path. For most creators today, the better setup is:
- Use OBS Studio.
- Add StreamRio as a Browser Source.
- Start around 600 x 750.
- Place StreamRio beside your camera or in an empty corner.
- Avoid full-canvas dimensions unless the overlay is meant to fill the scene.
That gives StreamRio room to act like a stream companion while keeping your gameplay, camera, and chat readable.
FAQ
Can StreamRio work in Twitch Studio?
It can work if your Twitch Studio build has a browser/web source layer that loads a URL. If it does not, use OBS Studio instead.
Is Twitch Studio still supported?
No. Twitch's official blog says support for Twitch Studio would be discontinued after May 30, 2024.
Should I download Twitch Studio from third-party mirrors?
No. Avoid unofficial downloads. If you do not already have Twitch Studio installed, use OBS Studio for StreamRio.
Should the StreamRio overlay be 1920 x 1080 in Twitch Studio?
Usually no. StreamRio is a companion overlay. Start with a compact size like 600 x 750, then place it beside the streamer.
Image sources and usage notes
The Twitch Studio screenshots and animations in this article are saved locally from official Twitch Blog pages:
- Twitch Studio Beta updates: https://blog.twitch.tv/en/2020/04/06/twitch-studio-beta-updates/
- Twitch Studio: Going Live Is Getting A Whole Lot Easier: https://blog.twitch.tv/en/2019/08/08/twitch-studio-going-live-is-getting-a-whole-lot-easier-ee64251bcf5/
Twitch and Twitch Studio are trademarks or registered marks of their respective owners. StreamRio is not affiliated with or endorsed by Twitch. Screenshots are used for educational setup guidance and are credited to their original source.